Cracked, stained, or peeling popcorn ceilings are a common problem that can make your home feel rundown. But repairing them doesn’t have to be a complicated, expensive process. Armed with the right tools, you can fix the damage yourself and bring your ceiling back to a smooth, clean finish in no time.
Fixing popcorn ceiling takes effort, but it’s worth it. You’ll get rid of those imperfections and leave the surface smooth and clean. It may take time, but the result is a refreshed room that looks new. You don’t need to spend like you’re hiring the best plumber—just some patience and the right tools will do.
What is a Popcorn Ceiling?
A popcorn ceiling, also known as an acoustic ceiling, is a textured finish that became common in homes for its soundproofing qualities. The surface has a bumpy, uneven texture resembling popcorn, which helps to hide imperfections and reduce noise. It was a popular choice due to its affordable and functional design.
Over time, popcorn ceilings have become less desirable due to their outdated look and difficulty in cleaning or repairing. They tend to collect dust, stains, and are prone to cracking or peeling. As a result, many homeowners now opt to remove or repair popcorn ceilings to achieve a cleaner, more modern appearance in their homes.
6 Ways to Repair a Popcorn Ceiling
Prepare your tools and set up the workspace, protecting floors and furniture with drop cloths or plastic sheets. Ensure good ventilation through opening windows. Evaluate the ceiling’s damage, then plan your repair—scraping, patching, or priming. For major damage, call a professional.
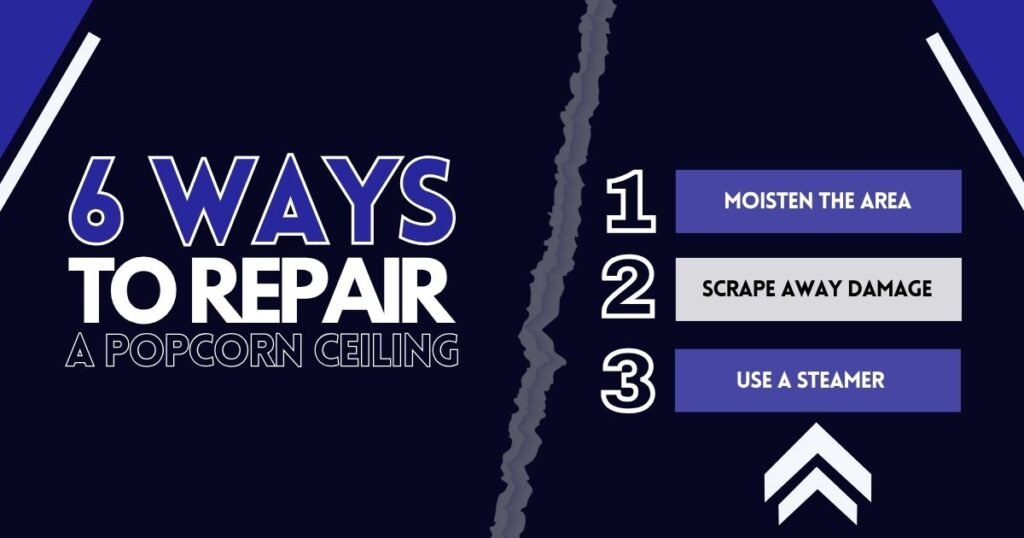
1. Moisten the Area
To start learning how to repair popcorn ceiling, fill a spray bottle with warm water. Lightly mist the surface to loosen the texture. Let it soak for a few minutes. This softens the material, making removal easier. Use a scraper once the texture is damp. Keep spraying and scraping until the entire ceiling is clear.
For faster popcorn ceiling repair, mist all damaged areas at once. While one section soaks, scrape another. This keeps the process moving without delay. Work in sections to stay efficient. Through rotating between soaked and scraped spots, you avoid downtime and finish quicker. This method speeds up the job and makes the repair easier.
2. Scrape Away Damage
Prepare the ceiling once the popcorn texture softens. Use a putty knife or scraper to gently remove damaged areas. Keep the tool at a slight angle to protect the drywall. Apply steady pressure and scrape in different directions—across and diagonally. This method helps break up the texture efficiently without causing unnecessary damage to the surface.
To repair popcorn ceiling, expect some tough spots that need extra steam and effort. Take short breaks to avoid fatigue. Scraping can wear you out. Clean the steamer nozzle often. Wipe the area around it to control moisture and debris. Staying on top of this keeps the repair smooth, safe, and more efficient.
3. Use a Steamer
Use a steamer safely when dealing with popcorn ceiling cracking. Wear goggles, a mask, and gloves to protect from steam and debris. Follow the steamer’s instructions. Adjust settings so the steam isn’t too hot or forceful. Always test a hidden spot first. This helps check if the steam works well before starting to repair popcorn ceiling areas.
Start in one corner and move across in small sections. Hold the steamer close without pressing too hard. Allow the steam to soften the texture slowly. Take your time to prevent damage. Stay steady and safe. This steaming method supports popcorn ceiling restoration in loosening old texture gently without harming the drywall. Keep a consistent pace throughout the process.
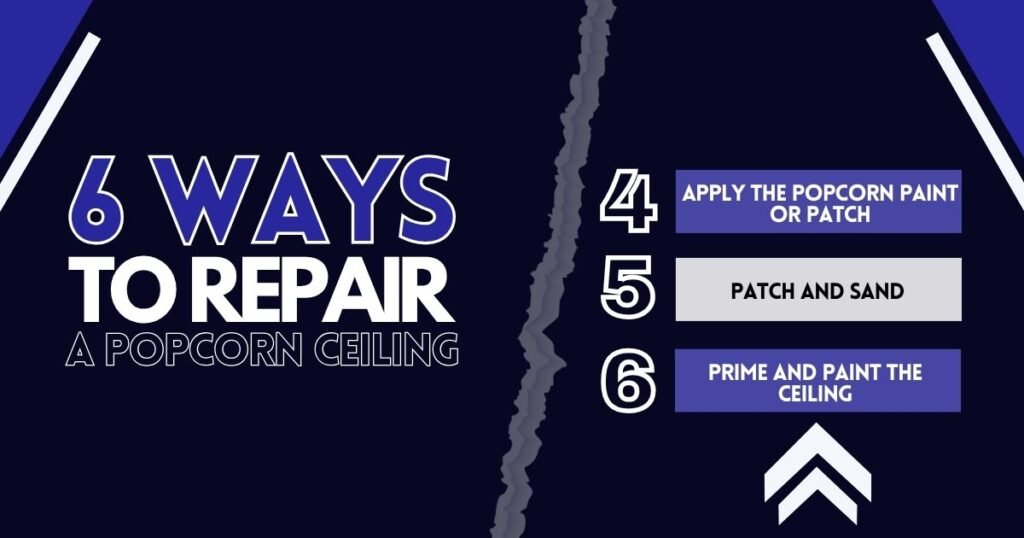
4. Apply the Popcorn Paint or Patch
Learning how to repair popcorn ceiling starts with letting the surface dry completely. Spray the texture in one direction and work in small sections. Slightly overlap each stroke for smooth coverage. Take your time for even results. This first step in popcorn ceiling repair helps prevent streaks and lines, giving your ceiling a cleaner, more uniform look.
After the first coat dries, apply the second coat using a perpendicular direction. This cross-hatch method fills gaps and creates better texture. Let the second coat dry fully before moving ahead. To achieve effective popcorn ceiling repair, avoid rushing this stage. A consistent finish across the ceiling depends on careful application and proper drying between layers.
5. Patch and Sand
Inspect the ceiling for holes, uneven areas, or popcorn ceiling cracking. Use a putty knife to apply joint compound and fill the gaps. Work in small sections and cover each spot evenly. Feather the edges to blend with the surface. These steps help repair popcorn ceiling issues and prep the surface for texture without leaving visible marks.
Let the joint compound dry fully—usually in 24 hours. Then start sanding the patched areas. Use sandpaper or a sanding block and move in circular motions. Smooth out rough spots completely. Wipe the ceiling with a damp cloth to remove dust. This cleanup step keeps the surface clean and ready to continue your popcorn ceiling repair project.
6. Prime and Paint the Ceiling
Start fixing popcorn ceiling using a thick-nap roller to apply primer evenly. This helps cover the textured surface well and improves adhesion. Work in small sections to keep control and avoid missed spots. Make sure each area gets full coverage. A thick-nap roller handles rough surfaces better, giving you a more even and reliable finish.
When it’s time to paint, continue fixing popcorn ceiling using the same thick-nap roller for even coverage. Apply paint slowly and evenly, letting each coat dry fully before adding the next. Use multiple coats if needed. For lasting results, follow basic maintenance tips to preserve the clean finish and keep your ceiling looking consistent over time.
Instant Ceiling Upgrade
Save money and fix your popcorn ceiling without hiring a contractor. With a few simple steps, you can restore your ceiling to its original beauty and achieve a smooth, modern finish. It’s a cost-effective solution that will give your room a fresh, updated look, transforming the entire feel of your space.
Restore your ceiling’s beauty quickly and affordably with simple steps that make a big difference. For plumbing services, contact us at Vegas Plumbing Pros. Our team offers professional plumbing repairs and solutions to keep your home functioning smoothly. We’re committed to delivering quality service with every job—get in touch for help today.
FAQS
What is the easiest way to repair popcorn ceiling?
The easiest way to repair popcorn ceiling is through encapsulation. This involves sealing the surface or installing drywall over it, then taping and painting. This method works well for fixing popcorn ceiling without removal. It hides damage, strengthens structure, and improves appearance. It’s a durable solution many homeowners prefer for a smoother, long-lasting finish.
Can I apply a commercial texture remover to my ceiling?
When fixing popcorn ceiling, steaming sometimes fails to loosen the texture. In that case, use a commercial remover made for popcorn ceiling repair. Follow all safety instructions and test a small hidden area first. These removers are effective but often contain VOCs. Always wear gloves, a mask, and goggles when applying them for a safer repair process.
What causes a popcorn ceiling to fall off?
Popcorn ceiling cracking and deterioration often result from moisture problems. Roof leaks, pipe damage, or upstairs flooding can cause the ceiling to weaken. As water seeps in, the texture loosens and begins falling. This damage makes it harder to repair popcorn ceiling and may require more than patching. Preventing water exposure can protect against frequent repairs.
Is popcorn ceiling patch better than spray?
For small areas, popcorn ceiling repair using a patch offers a simple fix. It works well on cracks or dents. If the damage covers a wider surface, a spray helps coat it more evenly. Both methods support repair popcorn ceiling goals, so the choice depends on how much area you’re treating and how seamless you want the result.