Dry air in your home can cause all sorts of problems, like scratchy throats, dry skin, and even damage to wood furniture or flooring. During winter, when heaters run non-stop, the air becomes even drier, making your home feel less comfortable.
If you’ve noticed these issues, a whole-house humidifier could be the solution. It helps maintain the right humidity level throughout your home, making the air feel fresher and more comfortable while protecting your belongings. But how do you get started with installing one?
What is a Whole House Humidifier?
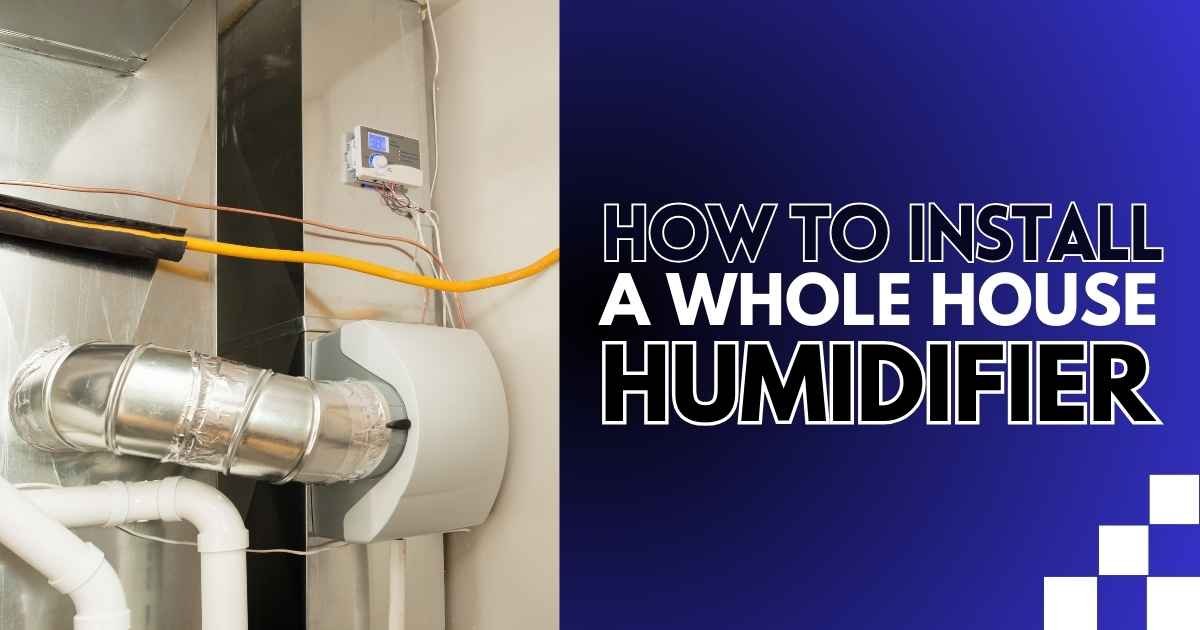
A whole-house humidifier is a device that adds moisture to the air in your entire home. It connects to your heating and cooling system and works to keep the humidity at a comfortable level.
Unlike portable humidifiers, which only work in one room, a whole-house humidifier spreads moisture evenly throughout your home. This helps prevent problems like dry skin, irritated sinuses, and damage to wood furniture or floors caused by dry air. It’s a convenient way to make your home more comfortable, especially during the winter months.
9 Steps to Install a Whole House Humidifier
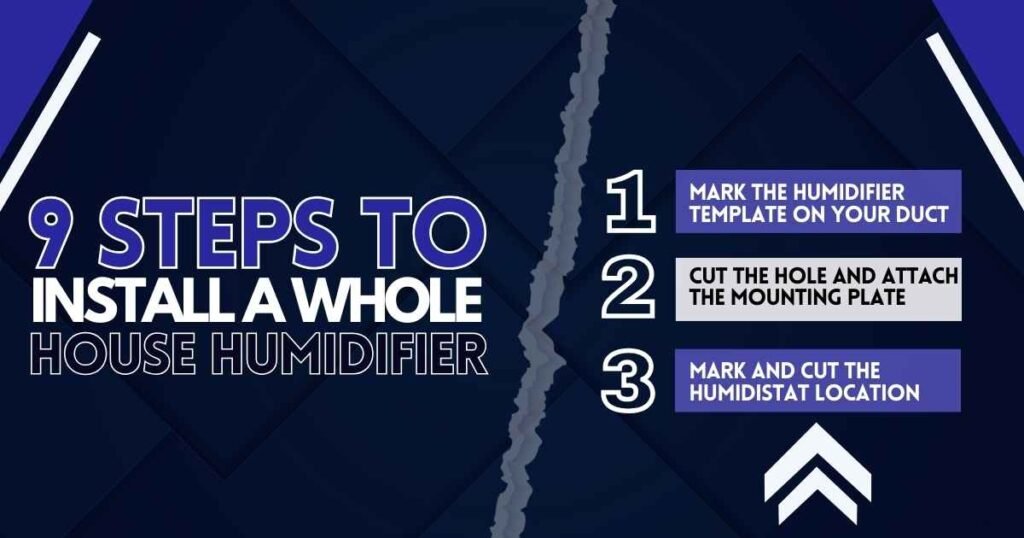
1. Mark the Humidifier Template on Your Duct
Marking the humidifier template on your ductwork is the first step when installing a ductwork humidifier. Use the template provided to identify where to cut holes. Follow the manufacturer’s instructions to find an accessible spot near a water source and drain.
Once you’ve found the right spot, decide if the humidifier will go on the supply or return air duct. Place the template on the duct and make sure it’s level so the humidifier will fit properly. Use a marker to trace the outline of the template. Double-check the placement before cutting to avoid mistakes. This step sets the foundation for a smooth installation process.
2. Cut the Hole and Attach the Mounting Plate
After marking the outline with the template, remove it and drill a small pilot hole along the traced line to guide your cut. Then, carefully cut out the shape using aviation snips. Be sure to wear protective gloves to avoid cuts from sharp metal edges, as ductwork can be very sharp.
Once the hole is ready, position the humidifier’s mounting plate and foam gasket over it. Use the screws that come with the kit to securely attach the plate and gasket to the hole, ensuring everything is firmly in place and aligned properly. Double-check that the plate is secure before moving to the next step.
3. Mark and Cut the Humidistat Location
The humidistat measures the humidity in the air and allows you to set the level you want. It’s an important part of the system because it helps the humidifier work efficiently. Choose a spot on the return air duct that’s easy to reach and follow the manufacturer’s instructions to find the best location.
Make sure the area is flat and away from any obstacles. Use the template that comes with the humidistat to trace the outline, then carefully cut the hole using tin snips or another cutting tool, just like you did for the humidifier. Double-check the fit before moving on to the next step.
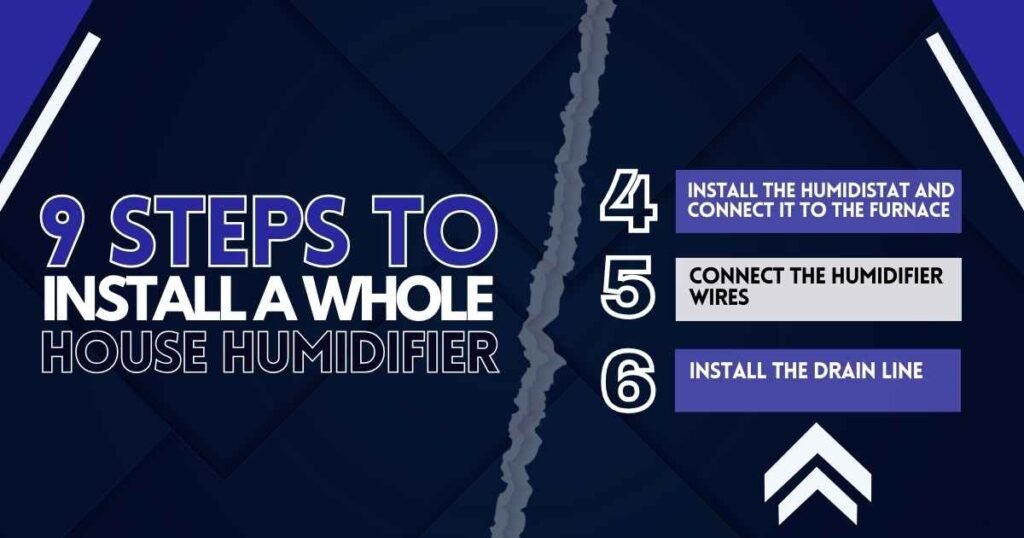
4. Install the Humidistat and Connect It to the Furnace
Place the humidistat body and gasket into the hole and secure them with the screws provided. Your humidifier will need electricity to run. Some models simply plug into an outlet, while others may require wiring. If wiring is needed, turn off the electricity to the furnace or outlet.
Test to ensure the power is off using an electrical tester. Follow the wiring instructions in your manual. If the process seems complicated, consider hiring an electrician for help.
5. Connect the Humidifier Wires
Attach the wires from the humidistat to the humidifier as explained in the manual. Take your time to ensure the connections are secure and match the instructions. If your humidifier includes a pressure switch, this is the time to install it.
You may need to drill small holes for the wires or mounting hardware, so double-check the manual for the correct placement. Make sure all wires are connected properly and safely to avoid issues later. Once everything is set, check that the wires are not loose or exposed.
6. Install the Drain Line
Your humidifier will have a drain at the bottom to carry away excess water. During the humidifier installation, use the plastic tubing that comes with the unit or a 3/4-inch PVC pipe to connect the drain. Make sure the pipe slopes downward so water flows easily.
Extend the pipe to the nearest floor drain, condensate pump, or utility sink. If your furnace already has a drain line, you can connect both by adding a pipe tee. Secure all connections tightly to prevent leaks, and double-check that the water flows properly after installation.

7. Attach a Water Line to the Humidifier
Most humidifiers can use hot or cold water. Start by connecting the water supply line to the humidifier’s compression fitting and tightening it securely. Run the water line to the nearest water pipe, making sure it’s a clear, straight path.
If you’re using a saddle valve, attach it to the water pipe and pierce the pipe to secure the line. However, some areas don’t allow saddle valves. In that case, turn off the water supply, cut the pipe, and install a tee fitting to connect the water line properly. Remember to double-check for leaks after connecting everything to avoid future issues.
8. Add the Bypass Vent
The bypass vent connects the supply and return ducts, allowing air to flow through the humidifier. Start by tracing the bypass vent collar onto the duct opposite the humidifier to mark where the hole will go. Carefully cut out the hole using metal shears or a similar tool.
Secure the collar to the duct with screws, ensuring it’s tightly attached to avoid air leaks. Next, connect the flexible duct to the collar and the humidifier, making sure the connections are snug. This step ensures air can move properly between the ducts and the humidifier for effective operation.
9. Set Up and Test the Humidifier
Turn the water and electricity back on to get the system running. Open the saddle valve to let water flow into the humidifier and carefully check for any leaks around the connections. If you spot any, tighten the fittings as needed.
If you’re new to humidifier installation, take extra care during this process to ensure everything is set up correctly. Insert the filter into the humidifier, ensuring it’s seated properly, and close the cover securely. Once everything is in place, turn on the humidifier and adjust the humidistat to your desired setting. Check that the system is working by feeling for moisture in the air coming from your vents.
Benefits of a Whole-House Humidifier
Adding a whole-house humidifier brings many benefits, such as making your home more comfortable, improving air quality, and saving on energy costs. These humidifiers maintain enough moisture in the air to help prevent dry skin and cracked lips. They can also lower the risk of respiratory problems caused by dry nasal passages and airways.
During winter, humidifiers help the air feel warmer, which can lead to lower heating bills. They are easy to program for the best humidity levels and require less upkeep than standard HVAC systems. Another bonus is that they reduce static electricity in the air.
Comfort in Every Breath
Installing a whole-house humidifier might seem like a big project, but it’s a smart investment for your home and health. We’ve all been in situations where dry air causes discomfort—scratchy throats, dry skin, or even creaky floors and cracked furniture.
Taking the time to set up a system like this ensures a more comfortable living space and protects the things you care about. When the air in your home feels just right, you’ll wonder why you waited so long to make the change. A little effort now can bring lasting comfort for years to come.
Looking to create a more comfortable home? Let Vegas Plumbing Pros handle the job! Our experts make installing a whole-house humidifier simple and stress-free, so you can enjoy healthier air and protect your home. Contact us today to get started!
FAQs
Can you install a whole house humidifier yourself?
Installing humidifier is straightforward if you can run the humidistat wiring and set up the necessary plumbing. When installing a humidifier, ensure you have tools like a drill, screwdriver, and plumbing supplies. Choose a location with enough space, near a water source and power outlet. If unsure about wiring or plumbing, consult a professional.
Where should a whole house humidifier be placed?
Both locations work, but installing the humidifier in the return duct is usually more efficient as it treats air before heating. If placed in the supply duct, it sits above the furnace where air is already heated. Check the manufacturer’s instructions and consult a professional if needed.
Does a whole-house humidifier use a lot of electricity?
Whole home humidifiers don’t use extra energy since they’re connected to your ductwork. They keep humidity at the right level, reducing strain on your AC system, helping to lower energy and repair costs, and making the cost to install a humidifier for a furnace a worthwhile investment.
How to humidify an entire house?
A whole house humidifier, also called a furnace humidifier, is the best way to maintain good humidity levels. Unlike small humidifiers that work for one room, a furnace humidifier, often installed as part of a home humidifier installation, adds moisture to the entire house and requires less upkeep.