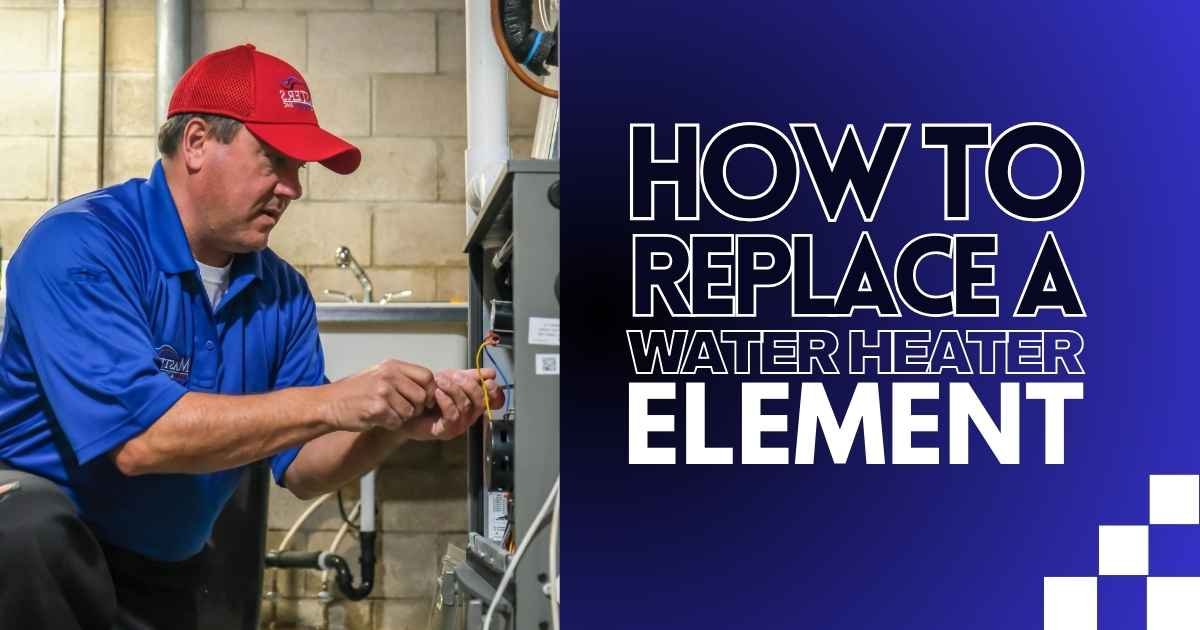
You may have experienced a time when your water heater suddenly stopped working, leaving you with nothing but cold water. After some research, you might discover that a faulty heating element is the cause. At first, it may seem like replacing it yourself would be a quick fix. But then, you realize handling both electricity and water isn’t as simple—or safe—as it seems.
If you’ve ever faced this kind of situation, you know it can be tempting to try fixing it yourself. But is it worth the risk? Sometimes, knowing when to call a professional can save you more than just time—it can protect your home and your safety. Would you take the chance?
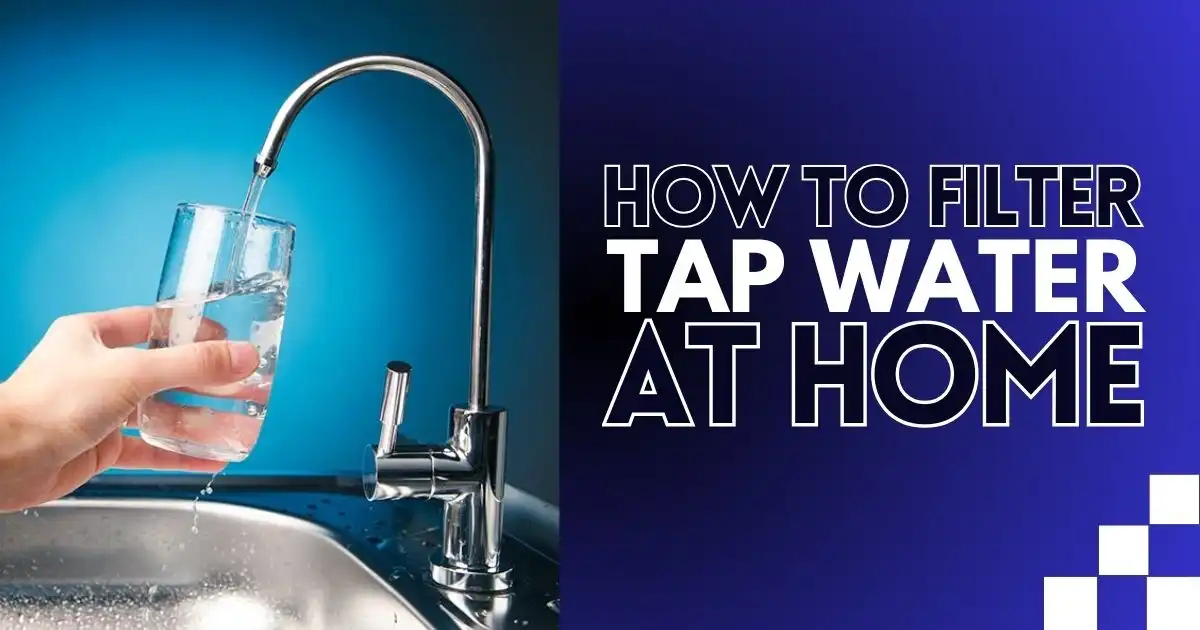
What is a Water Heater Element?
The water heater element is the part that heats the water. It usually has a blue, black, or silver threaded head and can be a straight rod or spiral shape. These elements are often made from stainless steel, copper, or incoloy, but some newer models use ceramic. The element is screwed into the water heater and stays underwater to heat it.
It’s connected to a thermostat that activates when the water temperature drops, ensuring hot water supply. If the element fails, the water heater can’t heat water. Replacing it involves electrical work, so it’s safer to hire a professional to avoid burns and ensure proper installation.
8 Steps to Replace a Water Heater Element
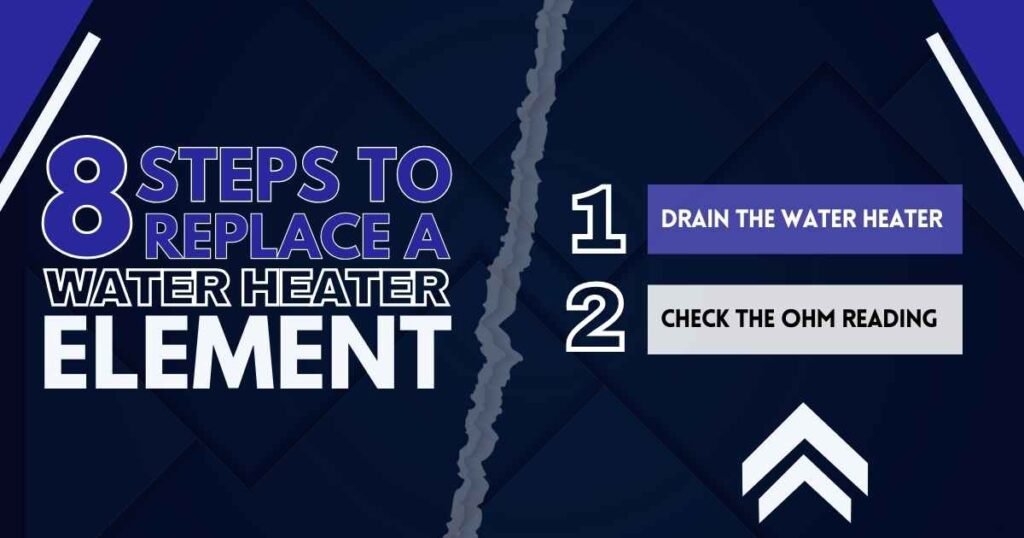
1. Drain the Water Heater
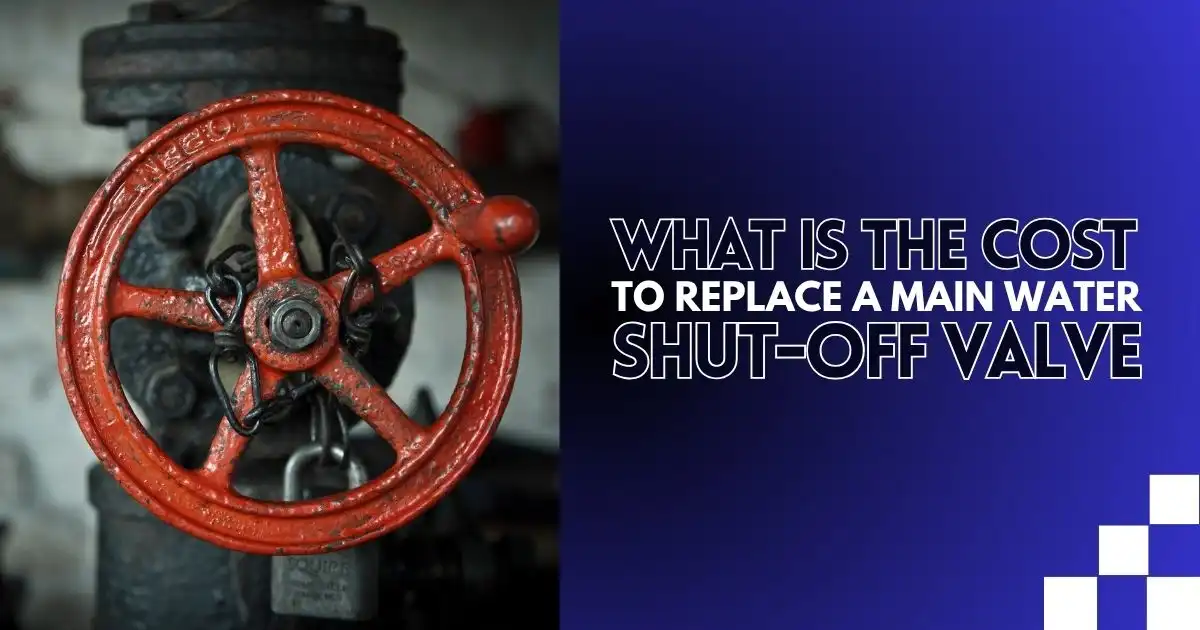
Turn off the cold water supply to your heater. The shut-off valve is usually above the heater on the cold water pipe. Make sure the handle is in the “off” position (perpendicular to the pipe). Let the water cool before draining, especially in Las Vegas, where heaters warm up fast.
When you’re ready to replace water heater element, attach a garden hose to the drain valve at the bottom of the tank and lead it to a drain, sink, or outside. Drain the water until it’s below the heating element. If replacing the lower element, you may need to drain the whole tank. This may take longer if there’s sediment buildup from hard water.
2. Check the OHM Reading
Connect a multimeter to the terminal screws of your water heater element to check the OHM reading. Set your multimeter to the lowest OHM setting. If you see a zero reading (for digital) or the needle doesn’t move (for analog), the element is faulty and needs to be replaced.
In Las Vegas, this is a common problem due to hard water, which leaves mineral deposits that damage the element over time. Regular testing and maintenance can help catch this issue early, preventing sudden failures and ensuring your water heater runs efficiently. Always wear protective gear when handling electrical parts.
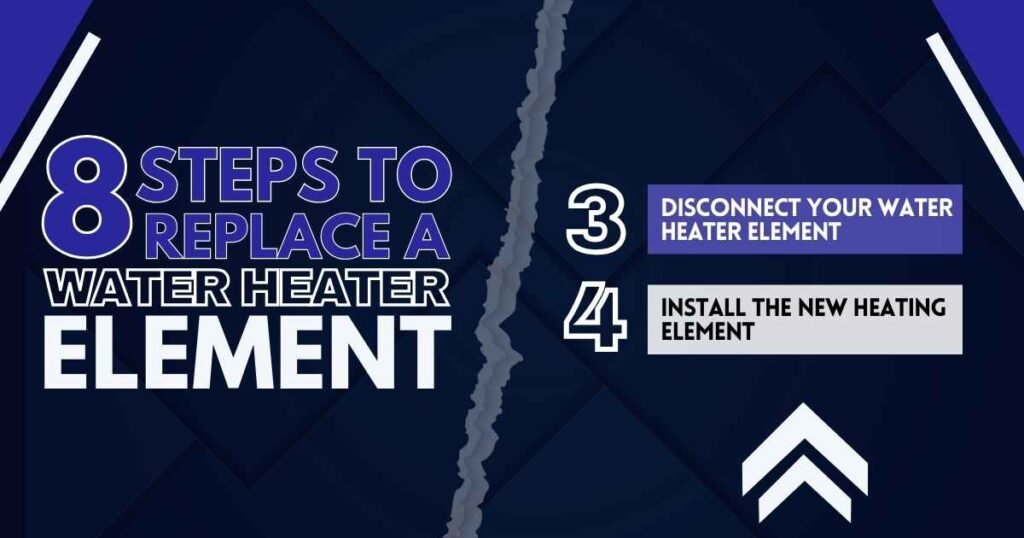
3. Disconnect Your Water Heater Element
To disconnect the water heater element, first test both elements with a multimeter to find the faulty one. Check the thermostat if needed. Make sure you know how to do this safely to avoid electric shock. Turn off the power at the breaker and confirm it’s off with a non-contact tester. Let the water cool for 1-2 hours.
Open the access panel, pull back the insulation, and find the screw terminal and wires. The lower element often has buildup, so start there. Loosen the screws and disconnect the wires. Always wear protective gear and avoid touching wires or metal parts with bare hands.
4. Install the New Heating Element
First, check that the new heating element has the correct wattage and voltage for your water heater. Installing the wrong one can cause damage or inefficiency. Clean the area where the gasket connects to the tank using a rag to remove any dirt, rust, or buildup. This ensures a good seal and helps prevent leaks.
Place the gasket on the new element and position it in the tank. Tighten screw-in elements with a socket wrench and secure flange elements with four screws. Avoid over tightening to prevent leaks. Ensure a snug, secure fit, and double-check the element and gasket are properly sealed.
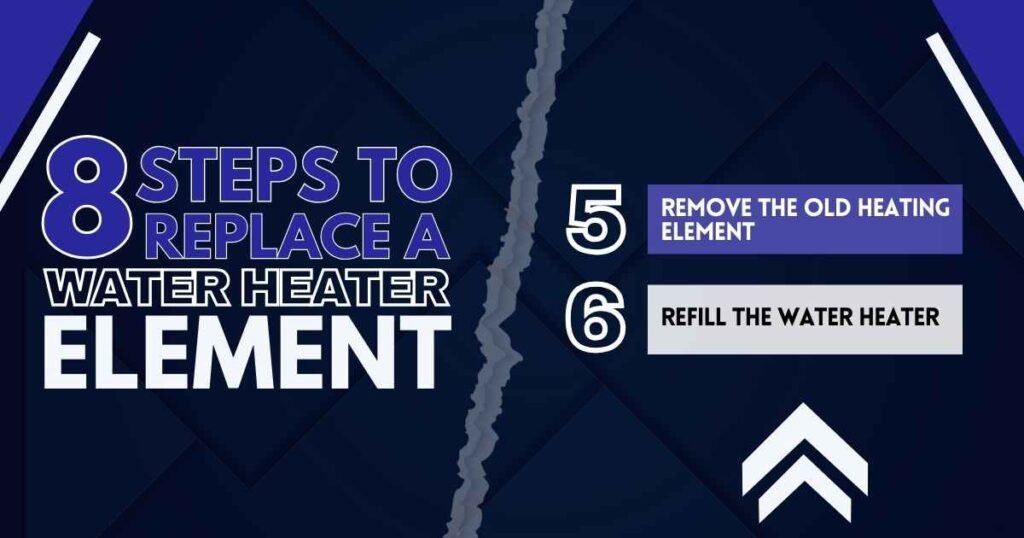
5. Remove the Old Heating Element
If your water heater has a screw-in water heating element, use a socket wrench to turn it counterclockwise and remove it along with the gasket. You’ll need a 1 1/2-inch socket or the one that came with your repair kit.
For flange-type water heating elements, remove the four screws and the gasket before taking out the element. In places like Las Vegas, where hard water can cause buildup, the element might be stuck, so it could take extra effort to loosen it. If it feels difficult to remove, try using a bit of extra force or a penetrating lubricant to help free the water heating element.
6. Refill the Water Heater
Once the new element is installed, close the drain valve and turn the cold water supply back on (the handle should now be parallel to the pipe). Open a nearby hot water faucet to allow air and sediment to escape.
Let the water run for a few minutes to clear out any air bubbles and ensure the system is working smoothly. This step is crucial, especially in areas like Las Vegas with hard water, as it helps prevent sediment buildup in the pipes.
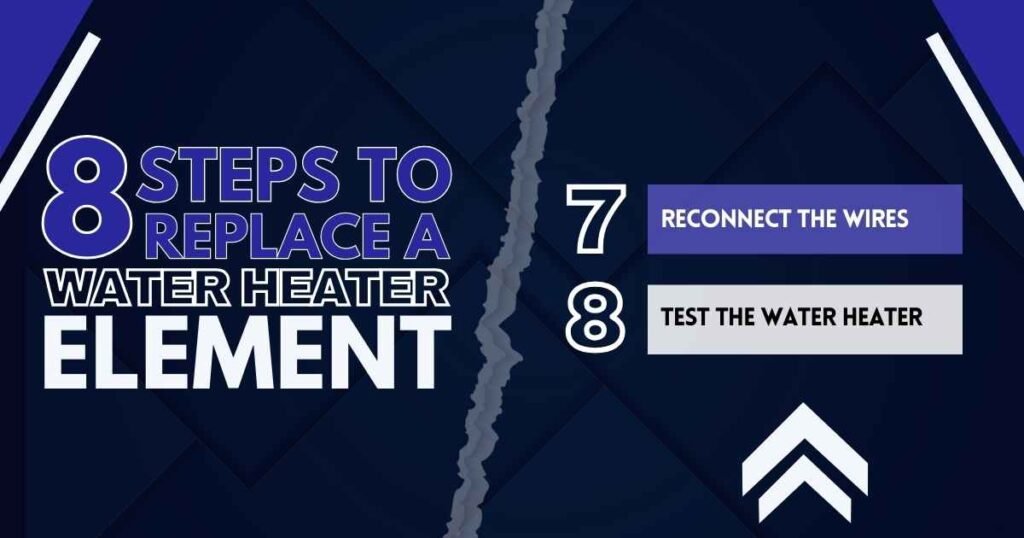
7. Reconnect the Wires
Reconnect the black and white wires by wrapping them clockwise around the terminals of the heating element. Tighten the screws securely to ensure the wires are attached properly.
Before closing up, make sure the connections are tight and secure to avoid future problems. After that, fold down the insulation and replace the cover over the access panel.
8. Test the Water Heater
Go to the circuit breaker and turn the power back on. Wait a few hours for the water to heat up. After that, turn on a faucet and check the water temperature.
If the water doesn’t heat properly, you hear strange noises, or notice leaks, contact a plumber. In Las Vegas, fast repairs can help avoid higher water bills and prevent further damage to your water heater system.
DIY vs. Hiring a Pro
This job involves both electricity and water, which is risky. Even though the steps seem simple, any mistakes could be dangerous for you, your home, and the appliance. The project needs electrical know-how since the wires carry high voltage. If you’re not experienced with circuits or testing, it’s safer to hire a pro.
Water heater repair typically costs $200 to $300. While the part itself is $10 to $60, hiring a plumber offers peace of mind. They can also check if the issue involves the water heater size or another part.
Avoid Costly Mistakes
Replacing a water heater element might seem like a simple task, but it’s important to consider the risks and challenges that come with it. Handling electricity and water together isn’t something to take lightly, and one mistake could lead to bigger problems. Sometimes, the peace of mind that comes with hiring a professional is worth the extra cost.
At Vegas Plumbing Pros, we understand that replacing a water heater element can be challenging and risky. We’re here to provide expert assistance, so you don’t end up making costly mistakes. Reach out to us today, and let us help keep your home safe!
FAQs
How to test water heater element?
Turn off the power to the water heater to ensure safety. Remove the access panel to locate the heating element. Using a multimeter set to the lowest ohms setting, touch the probes to the screws of the element. If there’s a reading, the element is functional; no reading means it may need replacement. Always double-check that the power is off before starting.
How to check a water heater element?
Ensure the power is turned off before removing the cover to access the element. Set your multimeter to continuity mode and place the probes on the element’s screws. A low resistance reading indicates the element is working. If there’s no reading, the element is likely faulty and should be replaced. This simple test can prevent bigger issues later.
How to install a heating element in a water heater?
Turn off the power and drain the water from the heater. Unscrew the old element using an element wrench and carefully remove it. Insert the new element, tighten it securely, and refill the water tank. Once done, turn the power back on and let the heater warm up. Double-check the connections to ensure a leak-free installation.
How to replace a heating element in a water heater?
First, turn off the power and drain the water heater by attaching a hose to the drain valve. Use an element wrench to remove the old element, then insert and tighten the new one. Refill the tank with water and turn the power back on. Allow the heater to warm up and check for any leaks. Proper replacement ensures longer water heater life.