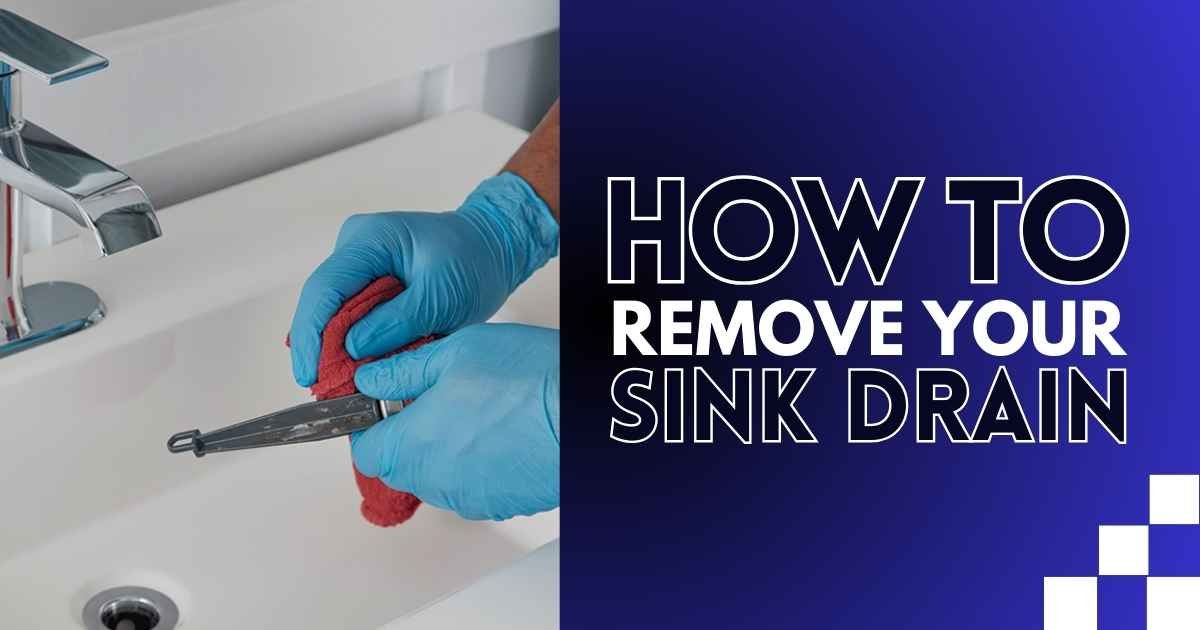
When you have a sink clog, everything slows down—dirty water lingers, bad smells spread, and frustration builds. Cooking, cleaning, and even washing your hands become a hassle. If left untreated, it can lead to bacteria buildup and plumbing issues.
Most people assume they need an expert, but the truth is, you can remove your sink drain yourself—easily! Why pay for something you can fix in minutes? With the right steps, you’ll clear the mess, eliminate bad smells, and get your sink flowing again.
What is a Sink Drain?
A sink drain is a plumbing fixture designed to remove wastewater from a sink. It consists of a drainpipe connected to the sink’s basin, allowing liquids to flow out and into the home’s sewage or drainage system. Sink drains are typically equipped with a strainer or stopper to prevent large debris from clogging the pipes.
Wastewater from the sink flows through a drainpipe, passing through a trap that blocks sewer gases. The water continues through pipes to the main sewage or drainage system. Regular cleaning ensures proper flow and prevents blockages caused by debris or buildup, maintaining the efficiency of the plumbing system and avoiding potential clogs.
10 Steps in Removing Your Sink Drain
Removing a sink drain might seem tricky, but with the right steps, it’s easy to do. If you need to fix a leak or replace an old one, follow these 10 simple steps for removing drain from kitchen sink and get the job done.
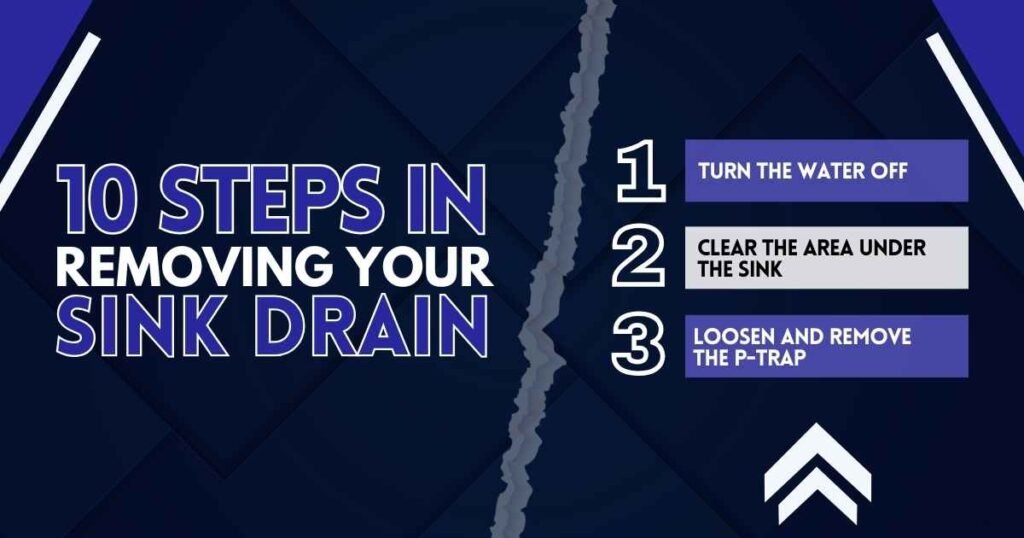
Step 1. Turn the Water Off
Before you start any plumbing task, it’s always wise to start by cutting off the water supply.This can be done by locating the sink’s shut-off valve, usually a small knob under the sink connected to your pipes. Turn it clockwise to halt the water flow. While it’s not absolutely essential for drain work, it’s a good safety measure to prevent any unwanted mess.
If the sink valve doesn’t do the trick, you can always shut off the main water supply to your home. However, remember that this will cut water to all fixtures, so it’s best to try the sink-specific valve first. Taking this extra step will give you peace of mind and help you avoid possible water problems during your plumbing project.
Step 2. Clear the Area Under the Sink
Before starting your work, remove all items stored under the sink to create enough space for you to maneuver. This will help you access the pipes and prevent clutter from getting in your way. If you’re tackling a kitchen sink drain removal, having a clear workspace is essential. Place a bucket or tray under the pipes to catch any spilled water.
Clearing the area is necessary to ensure you can work safely and efficiently. A bucket or tray is important because it will catch any water that remains in the pipes after you disconnect them, keeping the floor dry and preventing water damage. This preparation step also allows you to see the pipes more clearly and work with ease.
Step 3. Loosen and Remove the P-Trap
The P-trap is the curved pipe located under the sink, designed to trap debris and prevent odors from escaping. Use your hands or a wrench to loosen the slip nuts on both ends of the trap. Be sure to place a bucket beneath it to catch any residual water that drains out.
Once the P-trap is loose, remove it carefully and empty any remaining water into the bucket. This part of the plumbing system can accumulate debris like food particles and soap scum. Clean out any blockages or buildup inside to prevent future clogs. If the trap is damaged, it’s a good idea to replace it with a new one.

Step 4. Disconnect the Tailpiece
The tailpiece is the vertical pipe that connects the drain to the P-trap. Use channel-lock pliers or a wrench to unscrew the slip nut securing the tailpiece to the drain. Gently pull the tailpiece away from the rest of the plumbing, and set it aside.
Disconnecting the tailpiece can be tricky if it’s corroded or too tight. If needed, apply a small amount of penetrating oil to loosen the nut before unscrewing it. Take care not to damage the pipe while disconnecting it. Once the tailpiece is removed, inspect it for any wear and tear that may require replacement.
Step 5. Remove the Drain Stopper
If your sink has a drain stopper, begin by trying to remove it by hand. If it doesn’t come out easily, locate the horizontal rod under the sink, which is connected to the stopper. Remove the metal clip securing the rod, and then unscrew the pivot nut to release the stopper from the drain.
Removing the stopper can sometimes be challenging, especially if the rod mechanism is rusted or stuck. If the stopper doesn’t pull out after unscrewing the nut, gently wiggle it to break any seal. Be careful not to damage the rod or stopper mechanism, as you’ll need these parts to reinstall the stopper later.
Step 6. Unscrew the Lock Nut Under the Sink
Look for the lock nut under the sink that secures the drain to the sink basin. Using a wrench or pliers, loosen and remove the lock nut. These nuts can be very tight due to age or exposure to water, so applying penetrating oil can help loosen them for easier removal.
If the lock nut is stubborn, be patient and apply extra force, but avoid using excessive force that could damage the sink. Once removed, keep the lock nut in a safe place as you will need it to reattach the new drain or reinstall the original drain assembly. Ensure that the sink’s underside is clean before moving on.
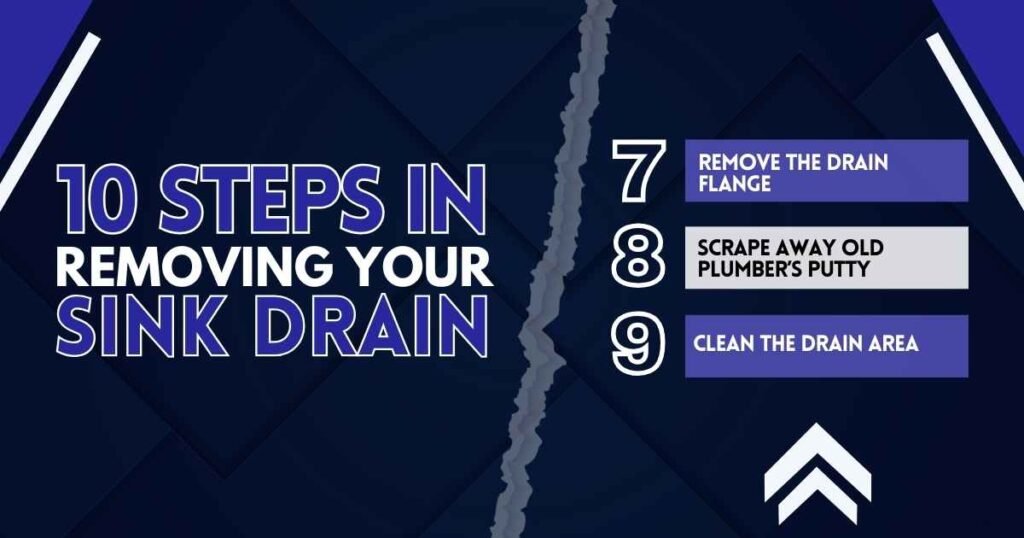
Step 7. Remove the Drain Flange
Once the lock nut is removed, gently push up on the drain flange from underneath the sink. While pulling it from the top, twist it slightly to break the seal and release it from the sink. You may need to use a bit of force to break the seal if the flange is stuck from years of use.
After removing the drain flange, inspect it for any damage. If it’s still in good condition, you can reuse it during reinstallation. Be cautious when pulling the drain flange out as it may have sharp edges. If the flange has any cracks or signs of wear, consider replacing it with a new one for a better seal.
Step 8. Scrape Away Old Plumber’s Putty
Examine the sink opening for any old plumber’s putty or sealant left behind after the removal of the drain. Use a putty knife or razor blade to carefully scrape off any leftover putty or sealant. This step is necessary for preparing the surface for a clean seal when installing the new drain.Removing old putty can be tricky, especially if it’s hardened over time.
Take your time to scrape away all remnants without scratching or damaging the sink’s surface. A clean, smooth surface is essential for forming a tight seal with the new plumber’s putty, preventing future leaks when you install the new drain.
Step 9. Clean the Drain Area
Wipe down the area around the drain hole using a mild cleanser and a clean cloth. Removing dirt, grime, and old residue will help ensure that the new drain forms a good seal. You can also use a soft brush to clean areas that might be harder to reach.
A clean drain area is necessary for creating a watertight seal with the new drain assembly. Any leftover debris or residue can interfere with the new installation, causing leaks or improper sealing. Take the time to thoroughly clean the sink area to guarantee the longevity of your plumbing setup after the new drain is installed.
Step 10. Prepare for Drain Installation
To prepare for the installation of the new drain, roll a small amount of plumber’s putty into a rope shape and place it around the opening of the sink. Press the putty down so it forms a solid seal. This will prevent water from leaking between the sink and the drain flange.
If you need to drain a sink before proceeding, ensure all water is removed to keep the workspace dry. Once the putty is applied, you’re ready to install the new drain or reassemble the original setup. Press the drain flange into place evenly, then reattach and tighten the lock nut and other components to prevent leaks.
Stop Waiting, Start Fixing
Stop delaying, take the leap! Don’t waste money on a plumber when you have the skills to fix your sink drain yourself. Removing your sink drain is simple once you know the steps. With a little effort, you’ll save money and gain valuable DIY skills.
Don’t let fear hold you back. If you’re scared of the mess or making a mistake in removing your sink drain, remember that many people feel the same way. But don’t worry, the Vegas Plumbing Pros has packed all your ultimate resources with expert advice and easy-to-follow tips to help you tackle the job like a pro. Contact us now for the guidance you need!
FAQS
How do you unclog a sink naturally?
A baking soda solution is a natural way to unclog a sink, being gentler on pipes than chemical drain cleaners. When removing sink drain clog, pour one cup of baking soda down the drain, then follow with one cup of white vinegar. Cover the drain with a rubber stopper or similar item to help the mixture work effectively.
How do I remove old sink drains?
Removing drain from sink takes a few tools and a bit of effort. Begin by loosening the locknut and detaching the tailpipe. Carefully remove the strainer from above, collecting any water in a bucket. Once the drain is detached, you can install a new assembly with proper sealing to ensure a secure fit for leaks.
How to remove sink drain to clean?
To take apart sink drain components for cleaning, first, gather a wrench, pliers, and a bucket. Turn off the water, place a bucket under the sink, and use a wrench to loosen the pipe. Twist and pull out the drain, then scrub it with soap and a brush to remove dirt and debris. Reattach the drain, tighten the screws, turn on the water, and check for leaks.
How do you clear a clog in a bathroom?
A plumber’s friend is effective at clearing clogs from sinks, tubs, and toilets, making it a must-have tool for homeowners. It’s also helpful during old sink drain removal, especially when buildup or debris causes slow drainage. For tougher clogs deeper in the drainpipe, use a cable auger or plumber’s snake. This long, flexible steel cable is wound around a spool and equipped with a hand crank to help dislodge blockages.