Waking up to weak water pressure or, worse, no water at all, can ruin your morning. It might delay your shower, washing dishes, or other daily tasks, leaving you frustrated and unsure of what to do next.
You might find yourself running late, feeling stressed, or even worried about a bigger plumbing issue. Simple things like washing your hands or filling a glass of water, suddenly become a challenge. What would you do if this happened to you?
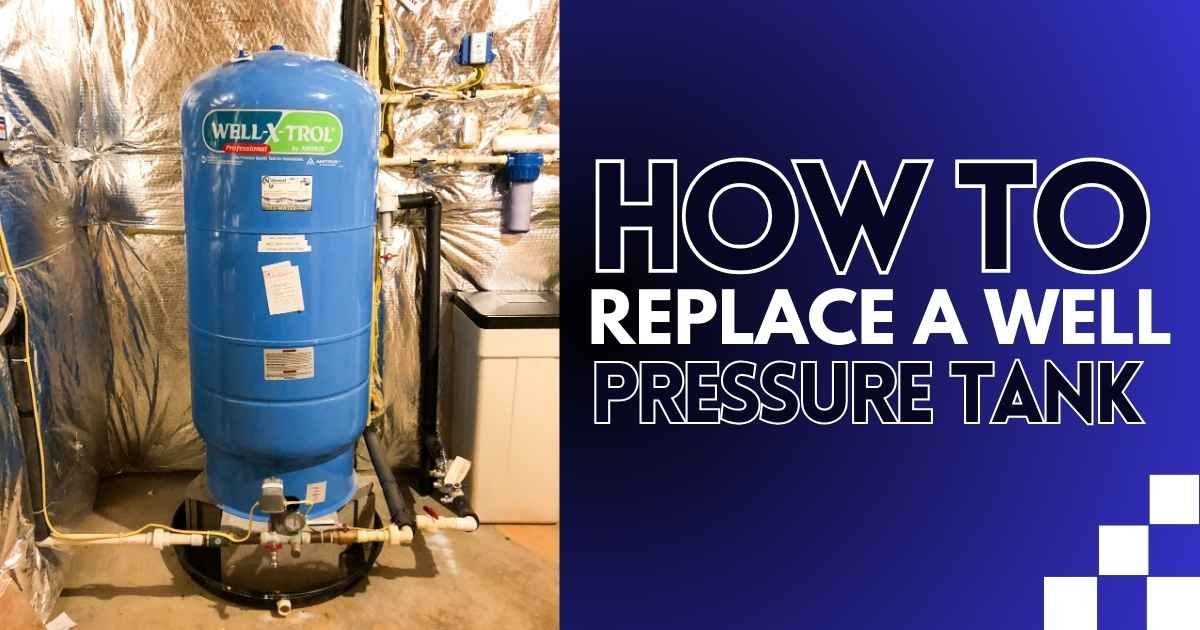
What is a Well Pressure Tank?
A well pressure tank replacement is necessary for storing and regulating water pressure in a well system. It provides a steady water supply before the pump activates, reducing pump cycles and wear. This extends the pump’s lifespan, improves efficiency, and lowers energy and maintenance costs.
The pressure tank maintains steady water pressure, preventing fluctuations that affect
appliances and plumbing. Without it, the pump would activate with every use, causing wear and potential failures. It balances water distribution, enhancing performance and user experience. Reducing pump strain increases efficiency and ensures a long-lasting well system.
10 Steps to Replace a Well Pressure Tank
Below are 10 basic steps to guide you through the process, ensuring a safe well pressure tank installation and restoring proper water pressure to your system.
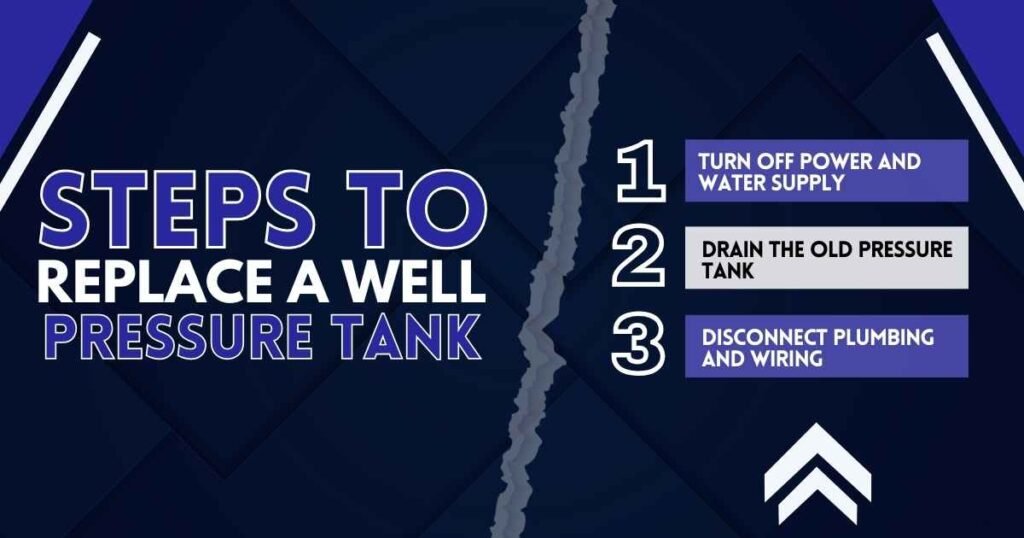
Step 1. Turn Off Power and Water Supply
Before you start, safety should be your top priority. Begin by shutting off the power to your well pump at the breaker box. This is important to prevent any electrical hazards while replacing well pressure tank and working on the system.
Next, locate the main water supply valve and turn it off. This will stop water from flowing into the tank and prevent unnecessary messes or water damage as you disconnect components. If your system has a bypass valve, engage it to isolate the pressure tank from the rest of the plumbing system.
Step 2. Drain the Old Pressure Tank
To make removal easier, you must drain all the water from the existing pressure tank. Attach a garden hose to the tank’s drain valve and direct it to an appropriate drainage area, such as a floor drain, a sump pit, or outside. Open the valve and let the water fully drain.
If the tank has a large amount of sediment buildup, the drainage might be slow. In such cases, you may need to gently shake the tank or use compressed air to help push out remaining water and debris. This step is important for a smooth well tank replacement. Once the tank is empty, close the drain valve.
Step 3. Disconnect Plumbing and Wiring
Using an adjustable wrench or pipe wrench, carefully loosen and disconnect the pipes connected to the pressure tank. Depending on your system’s setup, you may need to remove pipe fittings, unions, or flex connectors.
If your system has a pressure switch or other electrical components attached to the tank, disconnect these as well. Before removing any wires, take a picture or label them to ensure proper reconnection later. Inspect the pipes and fittings for any signs of corrosion or damage. If any parts look worn, consider replacing them along with the pressure tank.
Step 4. Remove the Old Tank
Once all plumbing and electrical connections are detached, you can remove the old pressure tank. Depending on the size of the tank, it may be heavy or awkward to lift, so having a second person to assist can be helpful.
If the tank is bolted to the floor or mounted on a stand, remove any securing bolts or brackets before lifting it away. Proper disposal is an important step in well water tank replacement. Some local recycling centers accept old pressure tanks, while others may require special disposal methods.
Step 5. Prepare the New Tank
Before installing the new pressure tank, it is essential to check its air pressure. Most tanks come pre-charged from the manufacturer, but when replacing pressure tank, you should verify that the air pressure matches your well pump’s cut-on pressure.
Use a tire pressure gauge to check the air pressure in the new tank’s air valve (similar to a bicycle tire valve). Generally, the tank’s air pressure should be set 2 PSI below the well pump’s cut-on pressure. For example, if your well pump turns on at 30 PSI, set the tank to 28 PSI. If needed, adjust the air pressure using a standard air pump or compressor.
Step 6. Install New Fittings and Connect Pipes
Before connecting the new tank, wrap the threads of all pipe fittings with Teflon tape to create a secure, leak-free seal. Carefully attach the necessary fittings to the tank, including unions, elbows, and pressure relief valves as required by your system’s design. Proper sealing is essential when installing well pressure tank components to maintain efficiency.
Ensure that all connections are hand-tightened first before using a wrench to snug them up. Reconnect the pipes leading to the water system, making sure they are aligned properly to prevent stress on the connections.
Step 7. Reconnect the Pressure Switch and Wiring
If your well system includes a pressure switch, carefully reconnect the wiring to the new tank, referring to the labels or pictures you took earlier for guidance.Ensure that all electrical connections are secure, and double-check that wires are properly insulated to prevent shorts or malfunctions.
Loose, frayed, or incorrectly connected wires can lead to serious issues, including erratic pump operation or even complete system failure.Once all wiring is in place, thoroughly inspect all fittings and connections, making sure they are properly tightened to prevent leaks or pressure inconsistencies before proceeding to test the system.
Step 8. Turn On the Water Supply
With the new tank securely installed, it’s time to restore the water supply and bring your system back online. Start by slowly opening the main water valve to allow water to gradually fill the tank, preventing sudden pressure surges that could stress the system.
As the tank fills, carefully inspect all pipe connections, fittings, and joints for any signs of leaks, such as drips, moisture buildup, or hissing sounds. If you detect any leakage, tighten the fittings as needed or reapply Teflon tape and retighten to ensure a proper seal.
Additionally, monitor the pressure gauge to confirm that the system is pressurizing correctly and functioning as expected before proceeding with further testing or regular use.
Step 9. Restore Power and Test the System
Once you’ve confirmed that there are no leaks, turn the power back on at the breaker box. The well pump should activate and begin filling the new pressure tank. To purge any air from the system, open a few faucets in your home. Let the water run until you no longer hear air sputtering from the pipes.
Observe the pressure gauge on the system to ensure the pressure rises and falls as expected. The well pump should turn off when the system reaches the cut-off pressure, typically around 50-60 PSI, depending on your setup.
Step 10. Check Pressure and Final Adjustments
After the system has been running for a few minutes, use a tire pressure gauge to check the pressure tank’s air charge.It should be 2 psi below the pump’s cut-in pressure—typically 28-38 psi for a 30/50 switch or 38-48 psi for a 40/60 switch. Adjust as needed with an air compressor or by releasing air to maintain proper levels.
For the next 24 to 48 hours, monitor the system for changes in water pressure or signs of short-cycling, where the pump turns on and off too frequently. A well-functioning system should let the pump run for at least a minute before stopping. If everything remains stable, congratulations—you’ve successfully replaced your well pressure tank!
Fix Weak Water Pressure Fast
Don’t let poor water pressure slow you down! Leave behind frustratingly weak water pressure and enjoy a steady powerful flow in your home. With the right fixes, you can restore efficiency, protect your plumbing, and upgrade daily comfort. Make the improvement now and see the amazing difference a well-optimized water system can make!
At Vegas Plumbing Pros, we’ve got the tips, tools, and expert advice to keep your plumbing in top shape. No matter if it’s a small fix or a big repair, we’re here to help. Check out our latest blogs, guides, and pro tips to keep your pipes running smoothly.
FAQS
Can I replace a well pressure tank myself?
You can replace a well pressure tank if you’re comfortable with plumbing and have the right tools. The process involves draining the system, disconnecting pipes, and installing the new tank. If issues arise, well tank repair may be a better option to prevent damage.
How often should you replace a pressure tank for a well?
A well pressure tank lasts 8 to 15 years, depending on quality, water conditions, maintenance, and pump cycling. Signs like low water pressure, frequent pump cycling, or air in the water may mean it’s time for pressure tank repair, well bladder tank replacement, or even installing a new pressure tank. Regular checks help extend its life.
How to tell if a tell pressure tank needs to be replaced?
Signs your well pressure tank needs replacement include fluctuating pressure, frequent pump cycling, leaks, rust, or a waterlogged tank. Tap it—it should sound hollow. If the pump runs often or faucets sputter, check for issues. You may repair the pressure tank, but if it’s over 10 years old, replacement is often best.
How much does It cost to replace a well pressure tank?
The cost to replace well pressure tank typically ranges between $400 and $2,500, depending on the tank’s size, brand, and installation complexity. The average cost is around $700 to $1,200 for a standard-sized tank with installation. Factors like labor, location, and system conditions can also impact the cost to replace pressure tank.