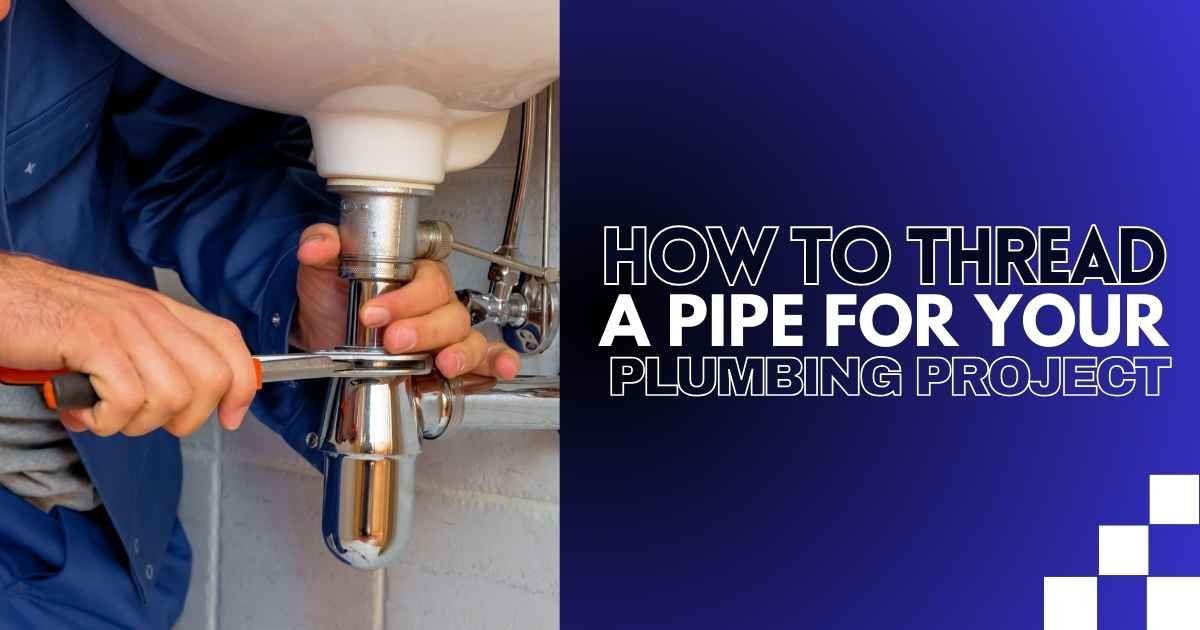
Studies show that solid plumbing can cut maintenance calls by up to 30%, saving homeowners time and stress. Jumping into DIY plumbing, threading a pipe might seem like a small task, but it’s one that can make or break your project. A well-threaded pipe not only prevents leaks but also reduces long-term repair costs and boosts the durability of your plumbing.
Threading isn’t just about getting a snug fit—it’s about creating a seal that stands up to pressure and lasts over time. Mastering this technique strengthens your plumbing to handle wear and tear, leading to fewer leaks and less stress in the future. Are you ready to make your plumbing project last?
Why Threading a Pipe is Important?
Threading a pipe is essential because it creates a tight, leak-free seal that keeps water or gas from escaping. The threads allow pipes to connect securely, fitting together like puzzle pieces so they can handle pressure without leaks. When pipes are threaded correctly, they hold up much better over time, meaning fewer problems like drips or loose connections.
Properly threaded pipes mean less maintenance and fewer repairs down the road. They save you money on unexpected fixes and help your plumbing last longer. This step may seem small, but it’s crucial—good threading is the difference between a solid, long-lasting solution and a quick fix that could fail.
Common Types of Threaded Pipes
There are a few main types of threaded pipes, each available in different sizes. Here are the most common types:
- American Standard Pipe (NPT)
- American Standard Pipe Thread Tapered (NPTF)
- British Standard Pipe Thread Parallel (BSPP)
- British Standard Pipe Thread Tapered (BSPT)
10 Simple Steps To Thread Pipes for Your Plumbing Project
If you’re in Las Vegas and want to tackle your own plumbing project, here’s a guide to help you. Once you have all your tools, like gloves and safety glasses, you’re ready to start threading pipes. This task requires patience, and don’t forget to seal the pipes properly at the end.

1. Wear Protective Gear
Threading pipes might seem simple, but it creates tiny metal shavings that can fly off in all directions. These little bits can be sharp and dangerous, so it’s essential to protect yourself. Make sure to put on sturdy gloves to shield your hands and safety glasses to keep your eyes safe.
Gloves prevent cuts if your hand slips or if a piece of metal sticks out unexpectedly. Safety glasses are a must because even a tiny metal speck in your eye can be painful and may even cause serious injury. Better safe than sorry—gear up, and you’ll feel a lot more comfortable while working.
2. Clamp the Pipe
To get started, you’ll need to secure the pipe in a bench vise. Think of this vise as an extra pair of strong hands holding the pipe steady while you work. Open the vise by turning the handle counterclockwise, then place the pipe inside, making sure the end you want to thread is sticking out towards you.
Once the pipe is in position, turn the handle clockwise to tighten it. You want the pipe held firmly so it doesn’t slip when you start threading, but be careful! If you tighten it too much, you could dent or flatten the pipe, which can mess up the threading process. Just aim for a snug fit, so the pipe doesn’t move but also isn’t crushed.
3. Cut the Pipe to Size
If your pipe needs to be a certain length, you’ll want to cut it cleanly. You can use a pipe cutter for a precise cut or a hacksaw if that’s what you have on hand. A pipe cutter will give you a nice, even edge without much effort—just tighten it around the pipe, twist it around, and keep tightening as you go. If you’re using a hacksaw, try to cut as straight as possible.
After you’ve cut it, take a reamer or a file to the edge. This step smooths out any rough or sharp spots left from cutting, called burrs. Removing these burrs is important because they can make threading harder and even damage your tools. Plus, a smooth edge helps the die head (the part that makes the threads) grip the pipe properly.

4. Choose the Right Die Head
The die head is the tool that cuts the threads onto your pipe, so picking the right size is key. First, measure the diameter of your pipe using a measuring tape. You’ll want to measure the outside edge of the pipe to get the accurate size.
Find a die head that matches the pipe’s diameter exactly. If it’s too small, it won’t fit; if it’s too big, the threads will be loose and may leak. Most die heads list the size on the side, so double-check before starting to ensure a secure, leak-free connection.
5. Lubricate the Pipe End
Apply a good amount of threading oil to the end of the pipe. This oil is super important because it reduces friction, making it much easier to thread. Without it, you’d have to use a lot more force, and you risk damaging the pipe or the die head. Think of it like adding oil to a squeaky door hinge—things just move more smoothly with it.
Don’t hold back on the oil—add a generous amount to keep things flowing smoothly. Also, keep a towel handy, as the oil can get messy and drip around the work area.
6. Attach the Ratchet
Take the ratchet tool and slide it over the end of the pipe. Make sure the die head – the part that does the actual cutting – fits snugly around the pipe. You don’t want it loose or wobbling; it needs to be tight for smooth, even threading.
Also, make sure the pipe goes fully into the die head so that the threads will be straight and even all the way around. If the die head isn’t sitting flat or if the pipe isn’t far enough, you might end up with crooked threads, which can lead to leaks when you connect pipes later. Take a second to check that everything is lined up right – it’ll make a big difference in the final result.

7. Start Threading the Pipe
Place the ratchet over the pipe end, press down a bit, and start turning it counterclockwise. As you turn, you should feel the teeth of the die head gripping and cutting into the pipe. This is a good sign—it means the tool is doing its job.
Apply steady pressure on the ratchet as you turn. It may feel tough initially, but go slow to keep the teeth in contact. If you slip, reset and press slightly firmer. Soon, you’ll see the threads forming—patience leads to smoother, cleaner threads.
8. Continue Threading with Oil
As you keep turning the ratchet, remember to add more oil every few turns. This helps everything move smoothly and keeps the teeth on the die head sharp. If you skip the oil, you’ll notice the threading becomes tougher, and the teeth might wear down faster. Think of the oil as a little helper, reducing friction and making your job easier.
Also, don’t forget to reverse the ratchet every now and then. This helps clear out any tiny metal shavings that build up on the threads. By reversing the ratchet, you “break the chips” or release those shavings so they don’t get stuck. It’s like cleaning up as you go, making the threading process smoother and protecting your tool from clogging.
9. Remove the Ratchet Tool
Once you’re done threading, it’s time to take the ratchet off the pipe. Flip the switch on the ratchet to change the direction, then start unscrewing it by turning the handle. The ratchet should come off smoothly.
When you’ve removed it, use a rag to wipe off any leftover oil and clean away any metal shavings from both the pipe and the tool. This keeps your tools in good shape and helps avoid mess later.
10. Seal the Pipe
Now for the final touch—sealing the pipe. Grab some Teflon tape and wrap it around the newly threaded end of the pipe. This step is super important to create a tight, leak-proof seal, especially with Las Vegas weather, where temperature changes can impact plumbing connections.
Wrap the tape around the threads about two to three times, keeping it snug and smooth. This will help the pipe connect firmly without leaks, giving you peace of mind when your plumbing project is up and running.
Take Time Now, Avoid Leaks Later
Listen, working on your plumbing might seem tricky, and it’s easy to rush and hope for the best. But trust me, taking the time to get it right now can save you from headaches later. Threading a pipe well means fewer leaks, less hassle, and a job you can be proud of.
Need to learn how to thread a pipe for your plumbing project? Vegas Plumbing Pros can guide you to get a secure fit that lasts. Don’t risk leaks or costly repairs—start your project right with expert tips from Vegas Plumbing Pros. Call today and make your plumbing project a success!
So, let me ask you, are you ready to handle your project with care? Have you thought about the small details that make all the difference? Taking that extra step now could be the key to a smoother fix and a stronger plumbing system in the long run.
FAQs
What tools do I need to thread a pipe?
To thread a pipe, you’ll need a few essential tools: a pipe wrench to grip and hold the pipe, a pipe cutter to make a clean cut, a pipe threading machine or a manual die set to create the threads, and some cutting oil. The cutting oil keeps everything cool and helps prevent the threads from getting rough or damaged during the process.
How to clean pipe threads?
To clean pipe threads, wipe off dirt or sealant with a cloth, then scrub gently with a wire brush to remove rust and debris. Soak in soapy water or vinegar for stubborn residue, then rinse and dry thoroughly to prevent rust. Ensure threads are clear for a secure fit.
How to thread PVC pipe?
To thread a PVC pipe, start by cutting it cleanly. Apply lubricant to reduce friction, then use a threading tool, turning it clockwise with steady pressure. Clear shavings as you go, and thread until you reach the desired depth. Finally, check the fit.
How to use a pipe threader?
To use a pipe threader, secure the pipe, apply threading oil, and place the threader on the pipe end. Turn the handle clockwise with steady pressure to create threads. Remove the threader, wipe excess oil, and test the threads by attaching a fitting to ensure a snug fit.


